Puzzle Nail Art Tutorial

DIY Puzzle Nail Art

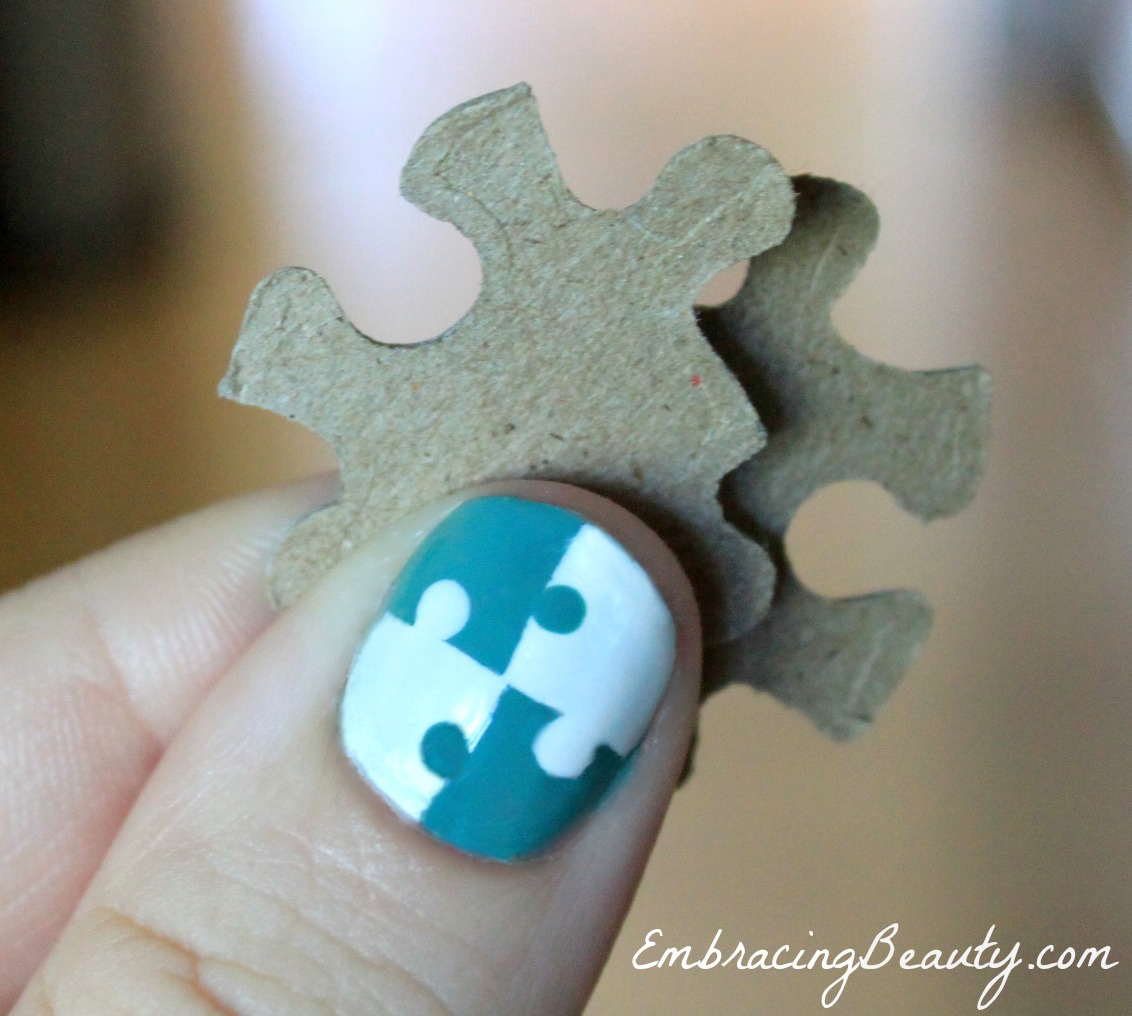
Last month, I told you about my puzzle nail art and how I created it.  I was excited about my puzzle nails and I’m glad to know that you liked them too!  I’ve received numerous comments and emails requesting pictures to show the tutorial step by step so I’m here to hopefully visually explain with pictures what I tried to explain with words before.  I hope this helps clear any confusion but as always, if you have any questions please feel free to contact me!

Here are a few simple steps that I think make for a great at home manicure:

  1. Trim, file, buff, & push back cuticles.  Buffing might seem like a waste of time but it will help your nail polish last longer!
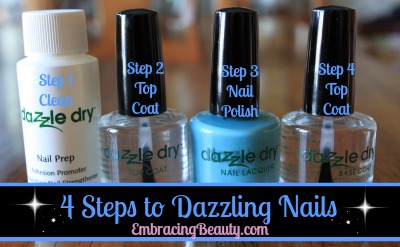
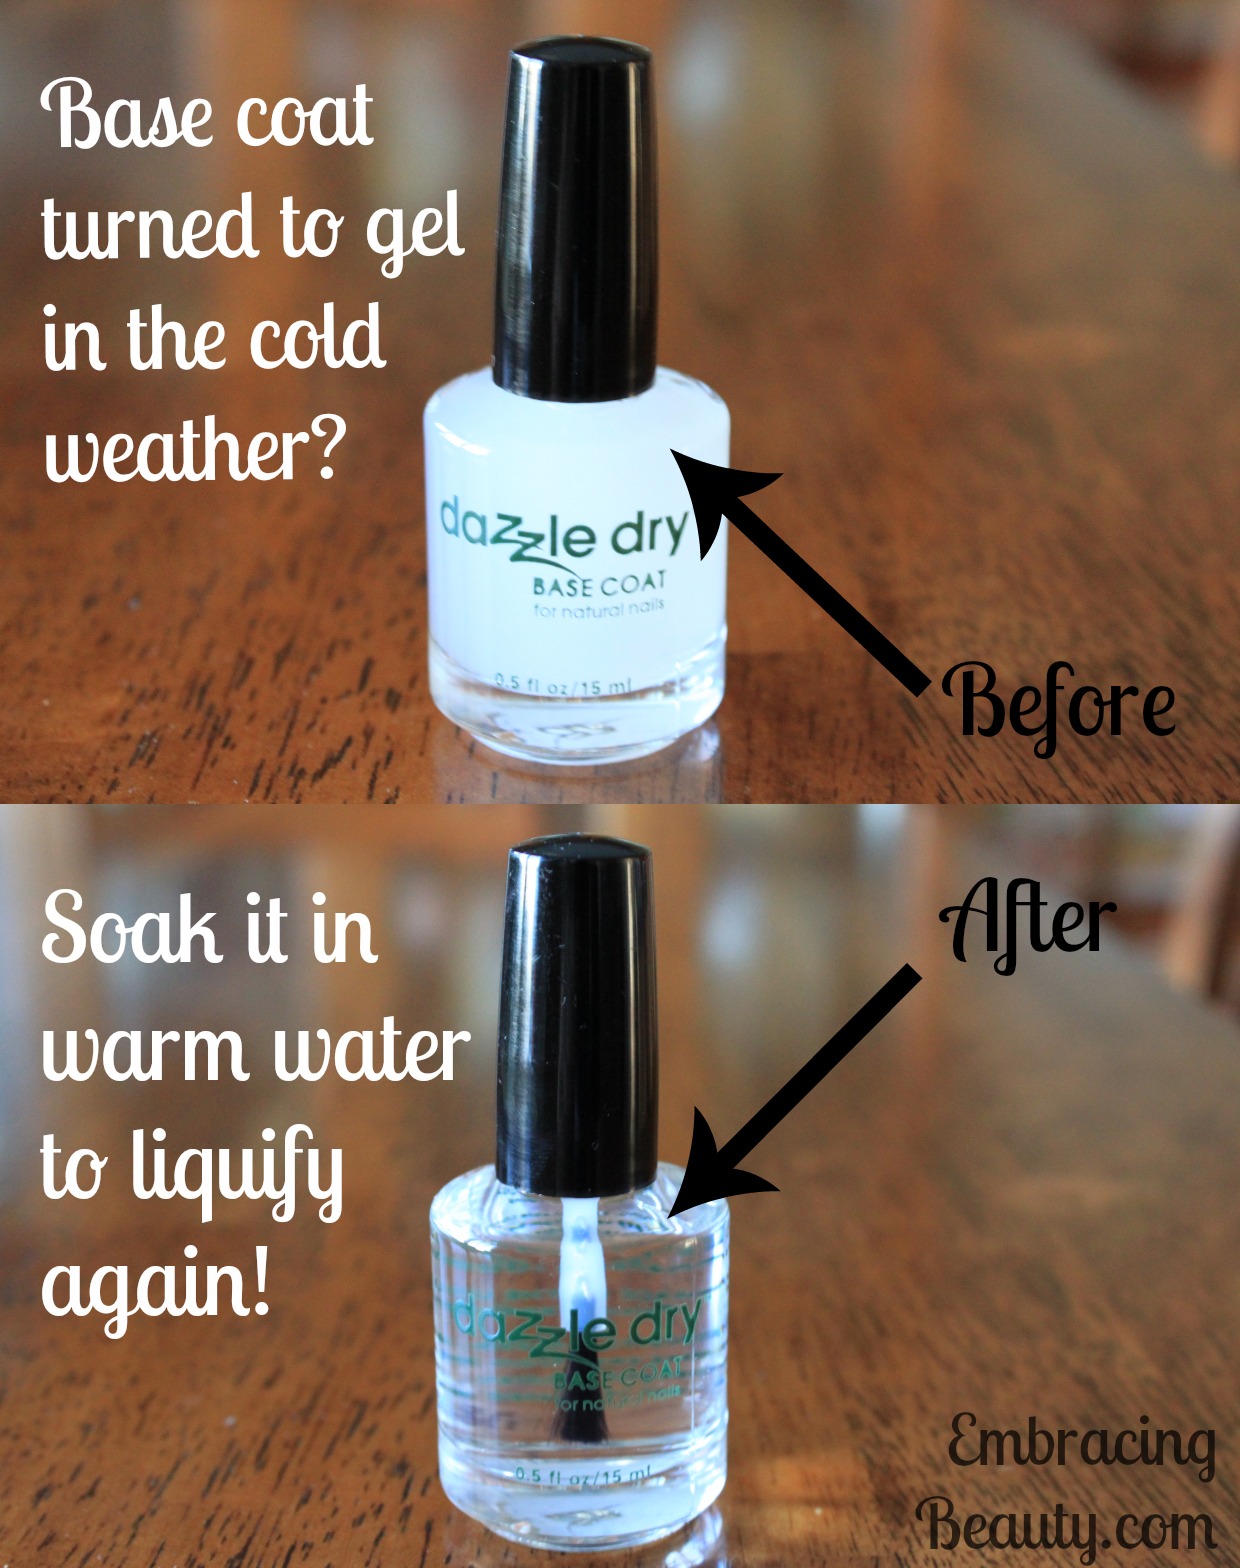
  2. Apply a base coat.  Let dry.
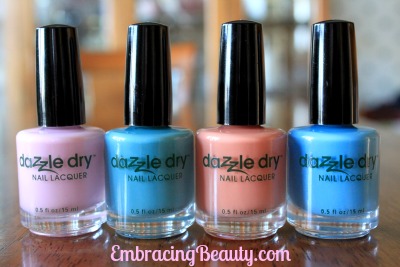
  3. Apply your base color of choice.  I recommend starting with your lightest shade (even though I forgot to do this myself!).
  4. Allow to fully dry.  This could take a while so I usually add a quick drying top coat here so I can get to designing my nails (the fun stuff) right away.
  5. Apply tape and paint the remaining areas.
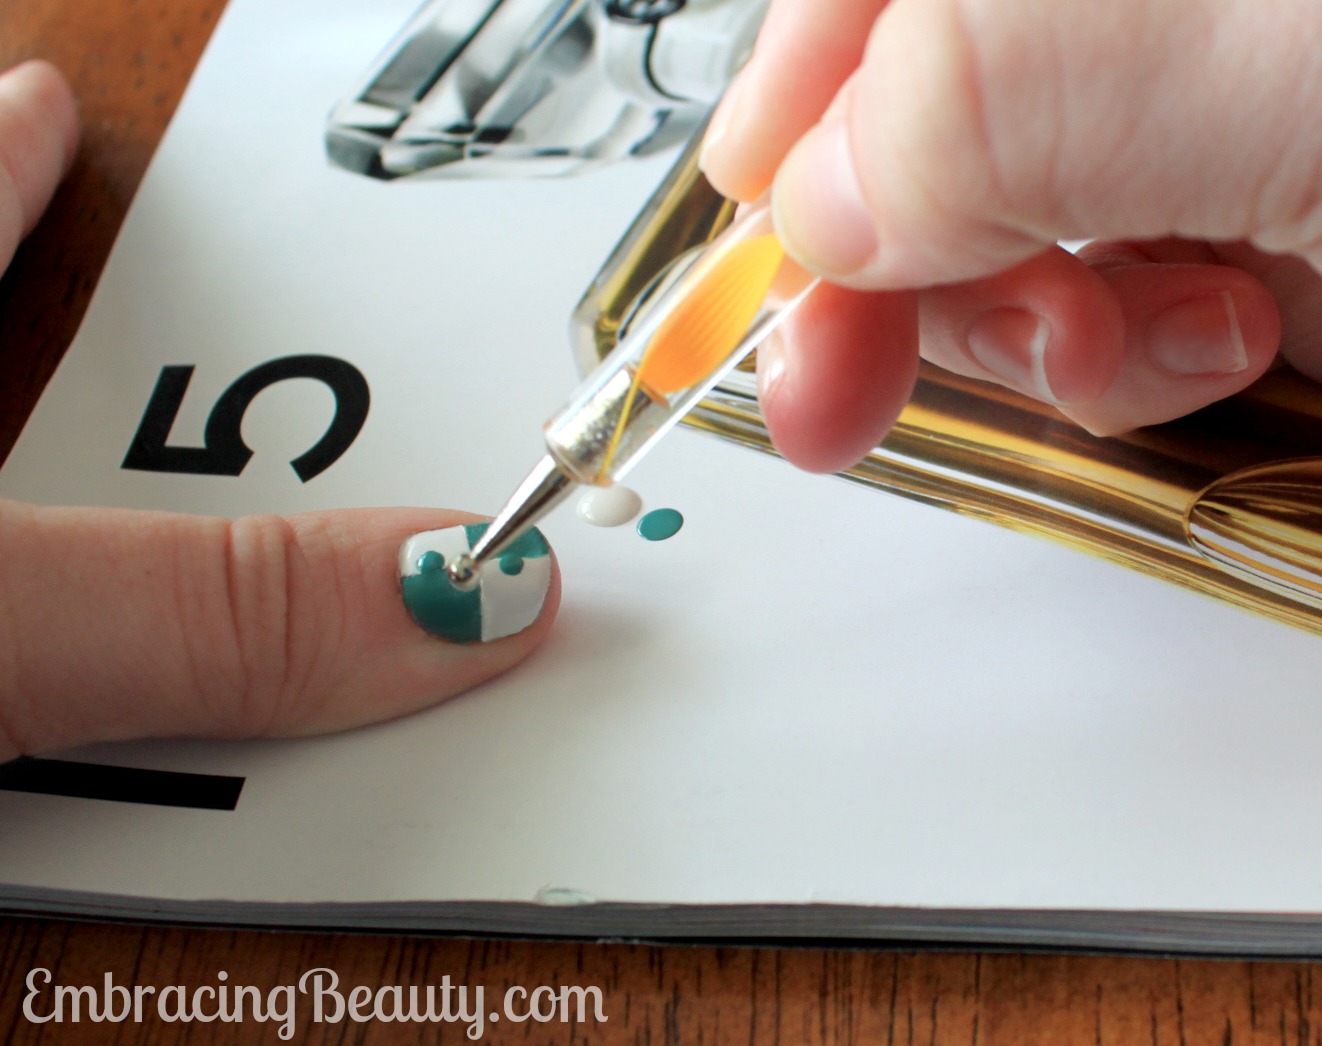
  6. If you’re doing the puzzle design that I did, take a dotting tool (or a toothpick) and dip it into the polish and then onto your nail on the  opposite color.  Repeat with each square.
  7. Apply a top coat.
  8. Take a picture and post it on Instagram with the tag #EmbracingBeauty so I can see it.  (Really, I want to see!)

Scissors and tape

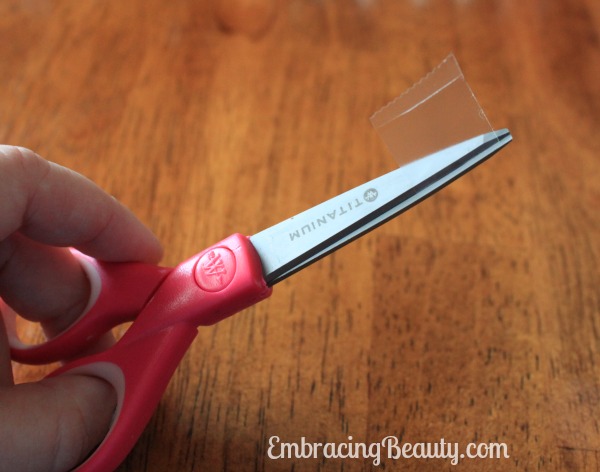
One you’ve got your lightest color applied and fully dry cut two pieces of tape to use.

Color Blocking 101

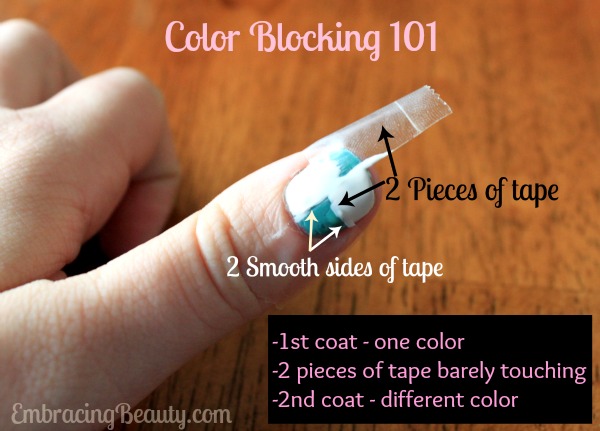
Apply the two pieces of tape to your nail.  You want the two corners to meet in the middle and barely touch.  Make sure you use the smooth sides of the tape and not the ridged edge where you tore it off…unless you’re not doing puzzles and you’re going for that look.  Smooth the tape down with another finger nail to make sure there are no air pockets underneath where polish might seep.  Then carefully apply your darker color over your light one.  While your nail polish is still tacky and not fully dry begin sloooowly peeling the tape off.  Wait until your polish is fully dry before moving on to the next step.

Nail Polish Dotting

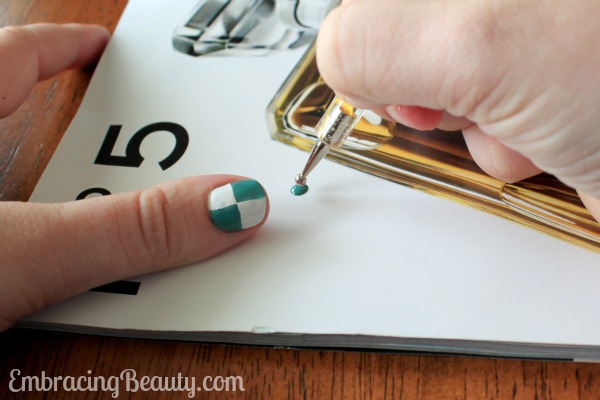
Grab your favorite dotting tool and bottle of polish.  I use the cheapo dotting tools from Amazon {and love them!} but be warned they take a few weeks to ship.  Right now they are selling for $1.86 shipped but the price could always change.  You could also use a toothpick or a mechanical pencil.  For this dotting technique I chose a wider end than I usually use.

Taking your brush from your bottle of polish dab some out on your work surface.  I always use the back of a magazine I have laying around.  Screw the lid on quickly and dip your dotting tool in the polish and then on your nail.  Don’t wait too long because the polish gets tacky and hard to work with when it’s drying.  Apply one dot of your darker color onto the square of the lighter color polish.  Repeat with the other light colored square.

Nail Tool Dotting

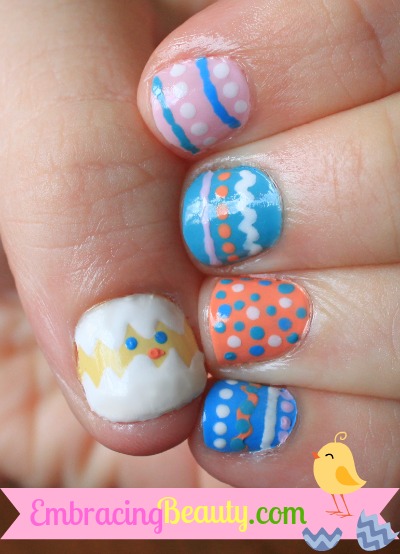
Repeat with your lighter color on top of your darker color.  As you can tell by this picture the paint is thick and bubbled up – that’s okay!  Once it’s dry it will be flat and look perfectly like a puzzle piece.  Just be careful not to touch your nails for a while because it will take a little longer to dry this way.  You can also add a top coat to help seal your manicure after your polish dries.

I think that’s it!  If you got a little polish on your fingers you can remove that with nail polish remover.  I find that an old art paint brush dipped into acetone works great for scrubbing off those pesky stray smudges of polish.

If you try out these puzzle nails I would love to see the results!  Please email them to me or share them on Instagram with the tag #EmbracingBeauty so I can see it.

Happy Painting!

Dazzle Dry Nail Polish & Easter Egg Nails

4 Steps to Dazzling Nails

If you’ve never tried Dazzle Dry’s 4 steps to dazzling nails then you are missing out!  It delivers a glorious shine that lasts and lasts as long as  your nail polish does.

Step 1 – Nail Prep gently cleans and conditions your nails.

Step 2 – Top Coat dries in 2 minutes flat and helps your nail color stay put for the long haul.

Step 3 – Nail Polish goes on smoothly in just one coat but the bottle recommends two.

Step 4 – Top Coat goes on and dries in a breeze leaving you with shiny, gorgeous, dazzling nails!


Dazzle Dry Nail Polish

Check out these four new beautiful spring colors Dazzle Dry just came out with.  Aren’t they lovely?


Dazzle Dry

Dazzle Dry says that they’ll dry manicures completely in 5 minutes and it’s true!  It takes longer than 5 minutes for all the steps and for the painting itself but once painted they dry very fast.


Base Coat Tip

I’ve used Dazzle Dry for years ever since my mom bought be my first set.  When I received this set in the mail, compliments of Dazzle Dry, I noticed that the base coat looked different than it usually did.  I thought it was just a new formula but as I was reading the small instruction booklet that came with it I found out that my base coat had actually turned to gel in the cold weather.  I’m glad I had read about it before trying to apply it like that!  The weather should be turning warm soon but I just wanted to post this and warn anyone who may be purchasing these in the future and who may receive a gelled base coat in the mail.  It’s a simple fix, all I had to do was soak it in warm water for just a few minutes and it turned back to liquid again.


Easter Egg Nails

Check out these Easter egg nails I painted in celebration of spring!  For the full step by step tutorial you can visit Shore Savings with Patti.

All in all, I highly recommend this set to anyone who is serious about beautiful nails.  It holds the color for a long time and the shine is unsurpassed!

DIY Halloween Nails

Just like I said I would, I gave Halloween nail painting another try.  {If you missed out, here’s my first attempt at Halloween nails.}  I wasn’t too pleased with my first try so I gave it another go.  While I’m not crazy thrilled with the results it was still fun.  Maybe I should leave nail design to the professionals though.  Either that or stick with the googley eyes.  Those were pretty easy and so far they’ve stayed on surprisingly well!


Halloween Nails

What do you think?  Which is your favorite?  I’m drawn to the tree because the girly side of me just loves seeing pink and black together.  The cat on the fence is fun but I think the cat could have been drawn better and next time I wouldn’t make the fence downhill.  I think the pumpkin looks sweet although maybe a little confused.  The silver spider?  Nah, I’m not a fan.  I promise it looked much better in my head.  Well, there you have it folks!  Another nail adventure comes to a close.  If you’ve painted designs on your nails lately I would love to see a picture.  Send me an email with your nail design pictures and they may even show up on our website!


Because inquiring minds want to know, most of the nail polishes above are from Julep with the exception of the black, green, and silver which is Essie and the purple which is Sally Hansen.

Halloween Nail Fail?

Painted nails are becoming the new trend fast!  Okay, not just pained nails but nails that have lavish designs on them.  I have to tell you that the little girl in me loves this!  I use to love painting designs on my nails and I would spend forever playing around with nail polish bottles and toothpicks.  I’m sick at the moment and I don’t feel like doing much of anything but I figured that painting my nails wouldn’t take to much effort and how hard could it be, right?  Wrong.  I don’t have the steady hand that I use to and this is going to take a little practice if it’s ever going to look good.  Okay, here are my nails.


Halloween Nails

  What do you think?  Halloween Nail Fail?  I’m thinking so.  I had such high hopes for Frankenstein too!  The blood splatter, although very gross, seems to have potential.  I mistakenly thought the pumpkin would be the easiest one.  The mummy and spider web were easy although not so attractive.


What about you?  Have you embraced this new nail trend or are you letting it pass you by?  I’m may be down but I’m not out yet.  I’m going to give this another go next week.  Keep an eye out here for some amazingly awesome nail designs!  Hopefully, awesome.  That’s not a promise.

Natural Secret for Beautiful Nails

Natural Secret to Beautiful Nails


Do you have bad nails and want a natural way to improve them?  I have a simple solution for you!  Simply soak in olive oil for a few minutes every week. The olive oil will soften your cuticles and moisturize your nails without making them weak.  My favorite benefit is that it also prevents “hang nails” caused by dry skin.


Do you have a natural, frugal beauty secret that you would like to share?  Drop me an email and your tip could be featured.