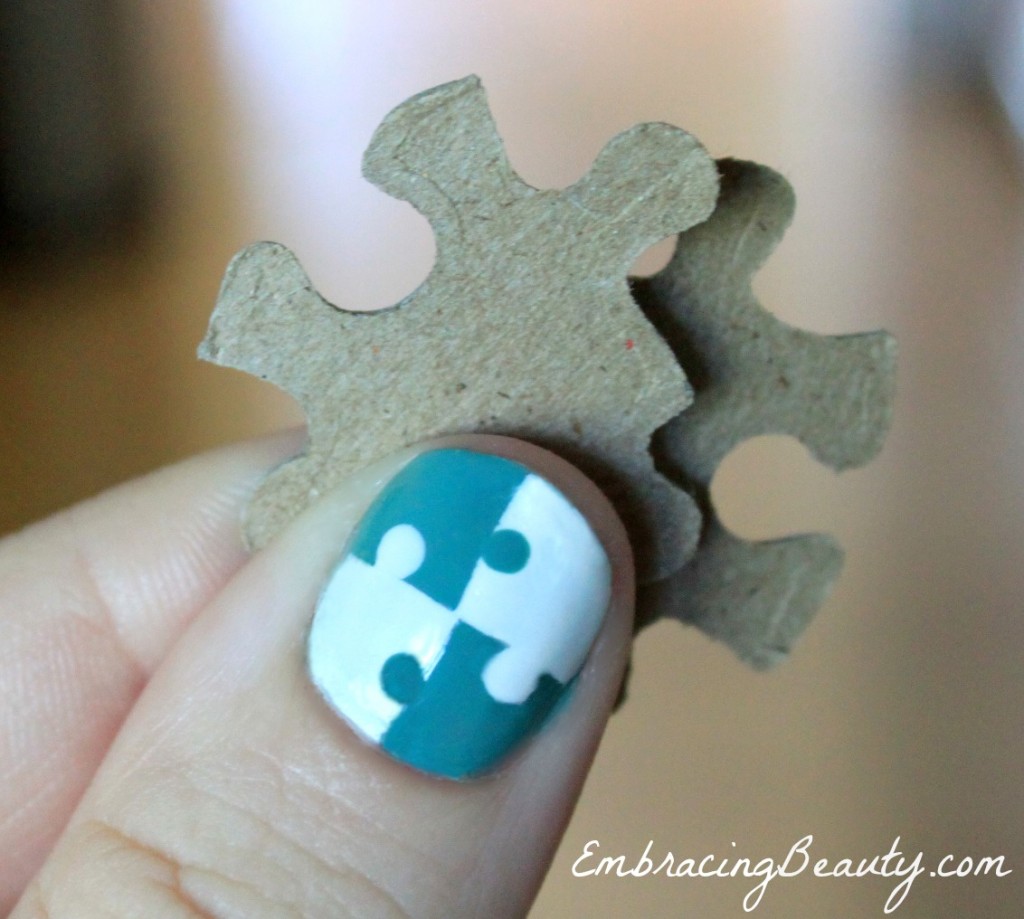
Last month, I told you about my puzzle nail art and how I created it. I was excited about my puzzle nails and I’m glad to know that you liked them too! I’ve received numerous comments and emails requesting pictures to show the tutorial step by step so I’m here to hopefully visually explain with pictures what I tried to explain with words before. I hope this helps clear any confusion but as always, if you have any questions please feel free to contact me!
Here are a few simple steps that I think make for a great at home manicure:
- Trim, file, buff, & push back cuticles. Buffing might seem like a waste of time but it will help your nail polish last longer!
- Apply a base coat. Let dry.
- Apply your base color of choice. I recommend starting with your lightest shade (even though I forgot to do this myself!).
- Allow to fully dry. This could take a while so I usually add a quick drying top coat here so I can get to designing my nails (the fun stuff) right away.
- Apply tape and paint the remaining areas.
- If you’re doing the puzzle design that I did, take a dotting tool (or a toothpick) and dip it into the polish and then onto your nail on the opposite color. Repeat with each square.
- Apply a top coat.
- Take a picture and post it on Instagram with the tag #EmbracingBeauty so I can see it. (Really, I want to see!)
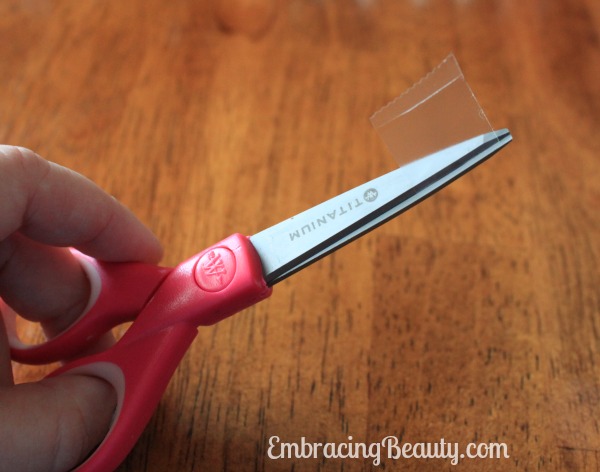
One you’ve got your lightest color applied and fully dry cut two pieces of tape to use.
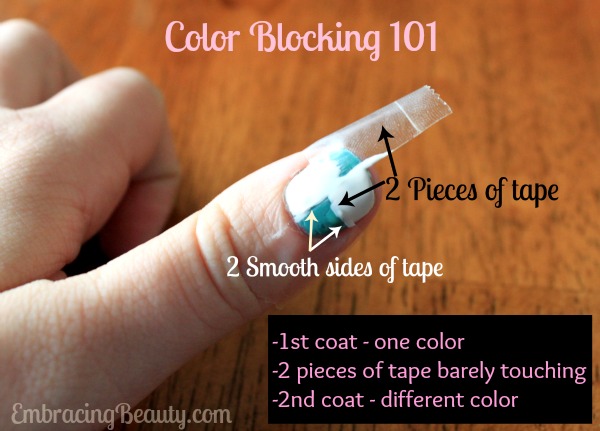
Apply the two pieces of tape to your nail. You want the two corners to meet in the middle and barely touch. Make sure you use the smooth sides of the tape and not the ridged edge where you tore it off…unless you’re not doing puzzles and you’re going for that look. Smooth the tape down with another finger nail to make sure there are no air pockets underneath where polish might seep. Then carefully apply your darker color over your light one. While your nail polish is still tacky and not fully dry begin sloooowly peeling the tape off. Wait until your polish is fully dry before moving on to the next step.
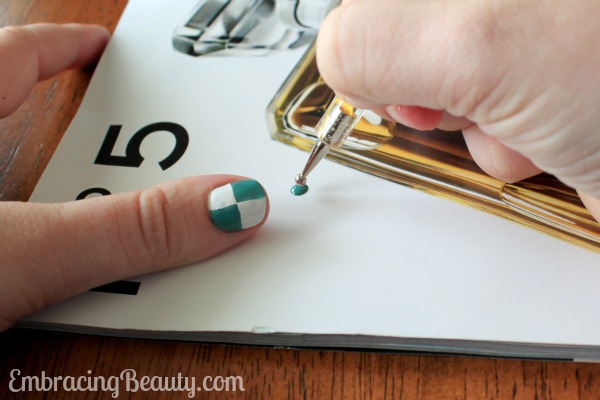
Grab your favorite dotting tool and bottle of polish. I use the cheapo dotting tools from Amazon {and love them!} but be warned they take a few weeks to ship. Right now they are selling for $1.86 shipped but the price could always change. You could also use a toothpick or a mechanical pencil. For this dotting technique I chose a wider end than I usually use.
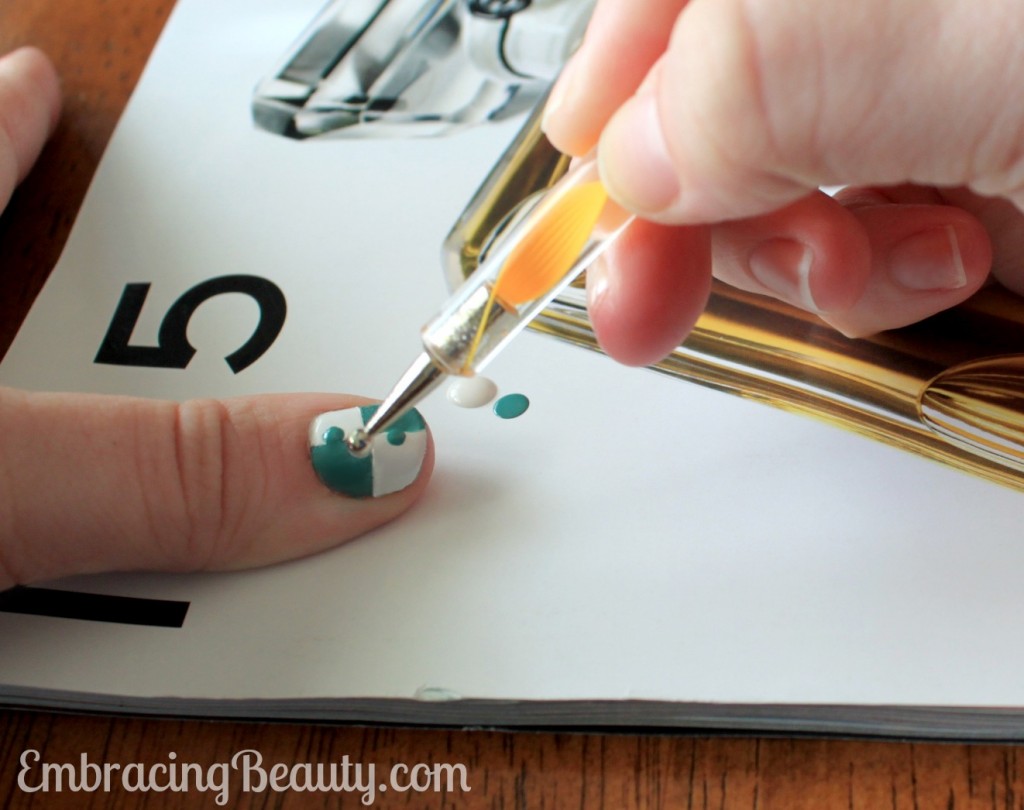
Taking your brush from your bottle of polish dab some out on your work surface. I always use the back of a magazine I have laying around. Screw the lid on quickly and dip your dotting tool in the polish and then on your nail. Don’t wait too long because the polish gets tacky and hard to work with when it’s drying. Apply one dot of your darker color onto the square of the lighter color polish. Repeat with the other light colored square.
Repeat with your lighter color on top of your darker color. As you can tell by this picture the paint is thick and bubbled up – that’s okay! Once it’s dry it will be flat and look perfectly like a puzzle piece. Just be careful not to touch your nails for a while because it will take a little longer to dry this way. You can also add a top coat to help seal your manicure after your polish dries.
I think that’s it! If you got a little polish on your fingers you can remove that with nail polish remover. I find that an old art paint brush dipped into acetone works great for scrubbing off those pesky stray smudges of polish.
If you try out these puzzle nails I would love to see the results! Please email them to me or share them on Instagram with the tag #EmbracingBeauty so I can see it.
Happy Painting!





Speak Your Mind